Example Basement Finishing Projects in Murray

Here are example basement projects for Murray, Midvale and Sandy, each with the house, the request, the work in order and an estimated cost.

These examples are illustrations. They are not records of work done, of a client or of an address.

Guest bathroom with a tub and beadboard walls

Example project
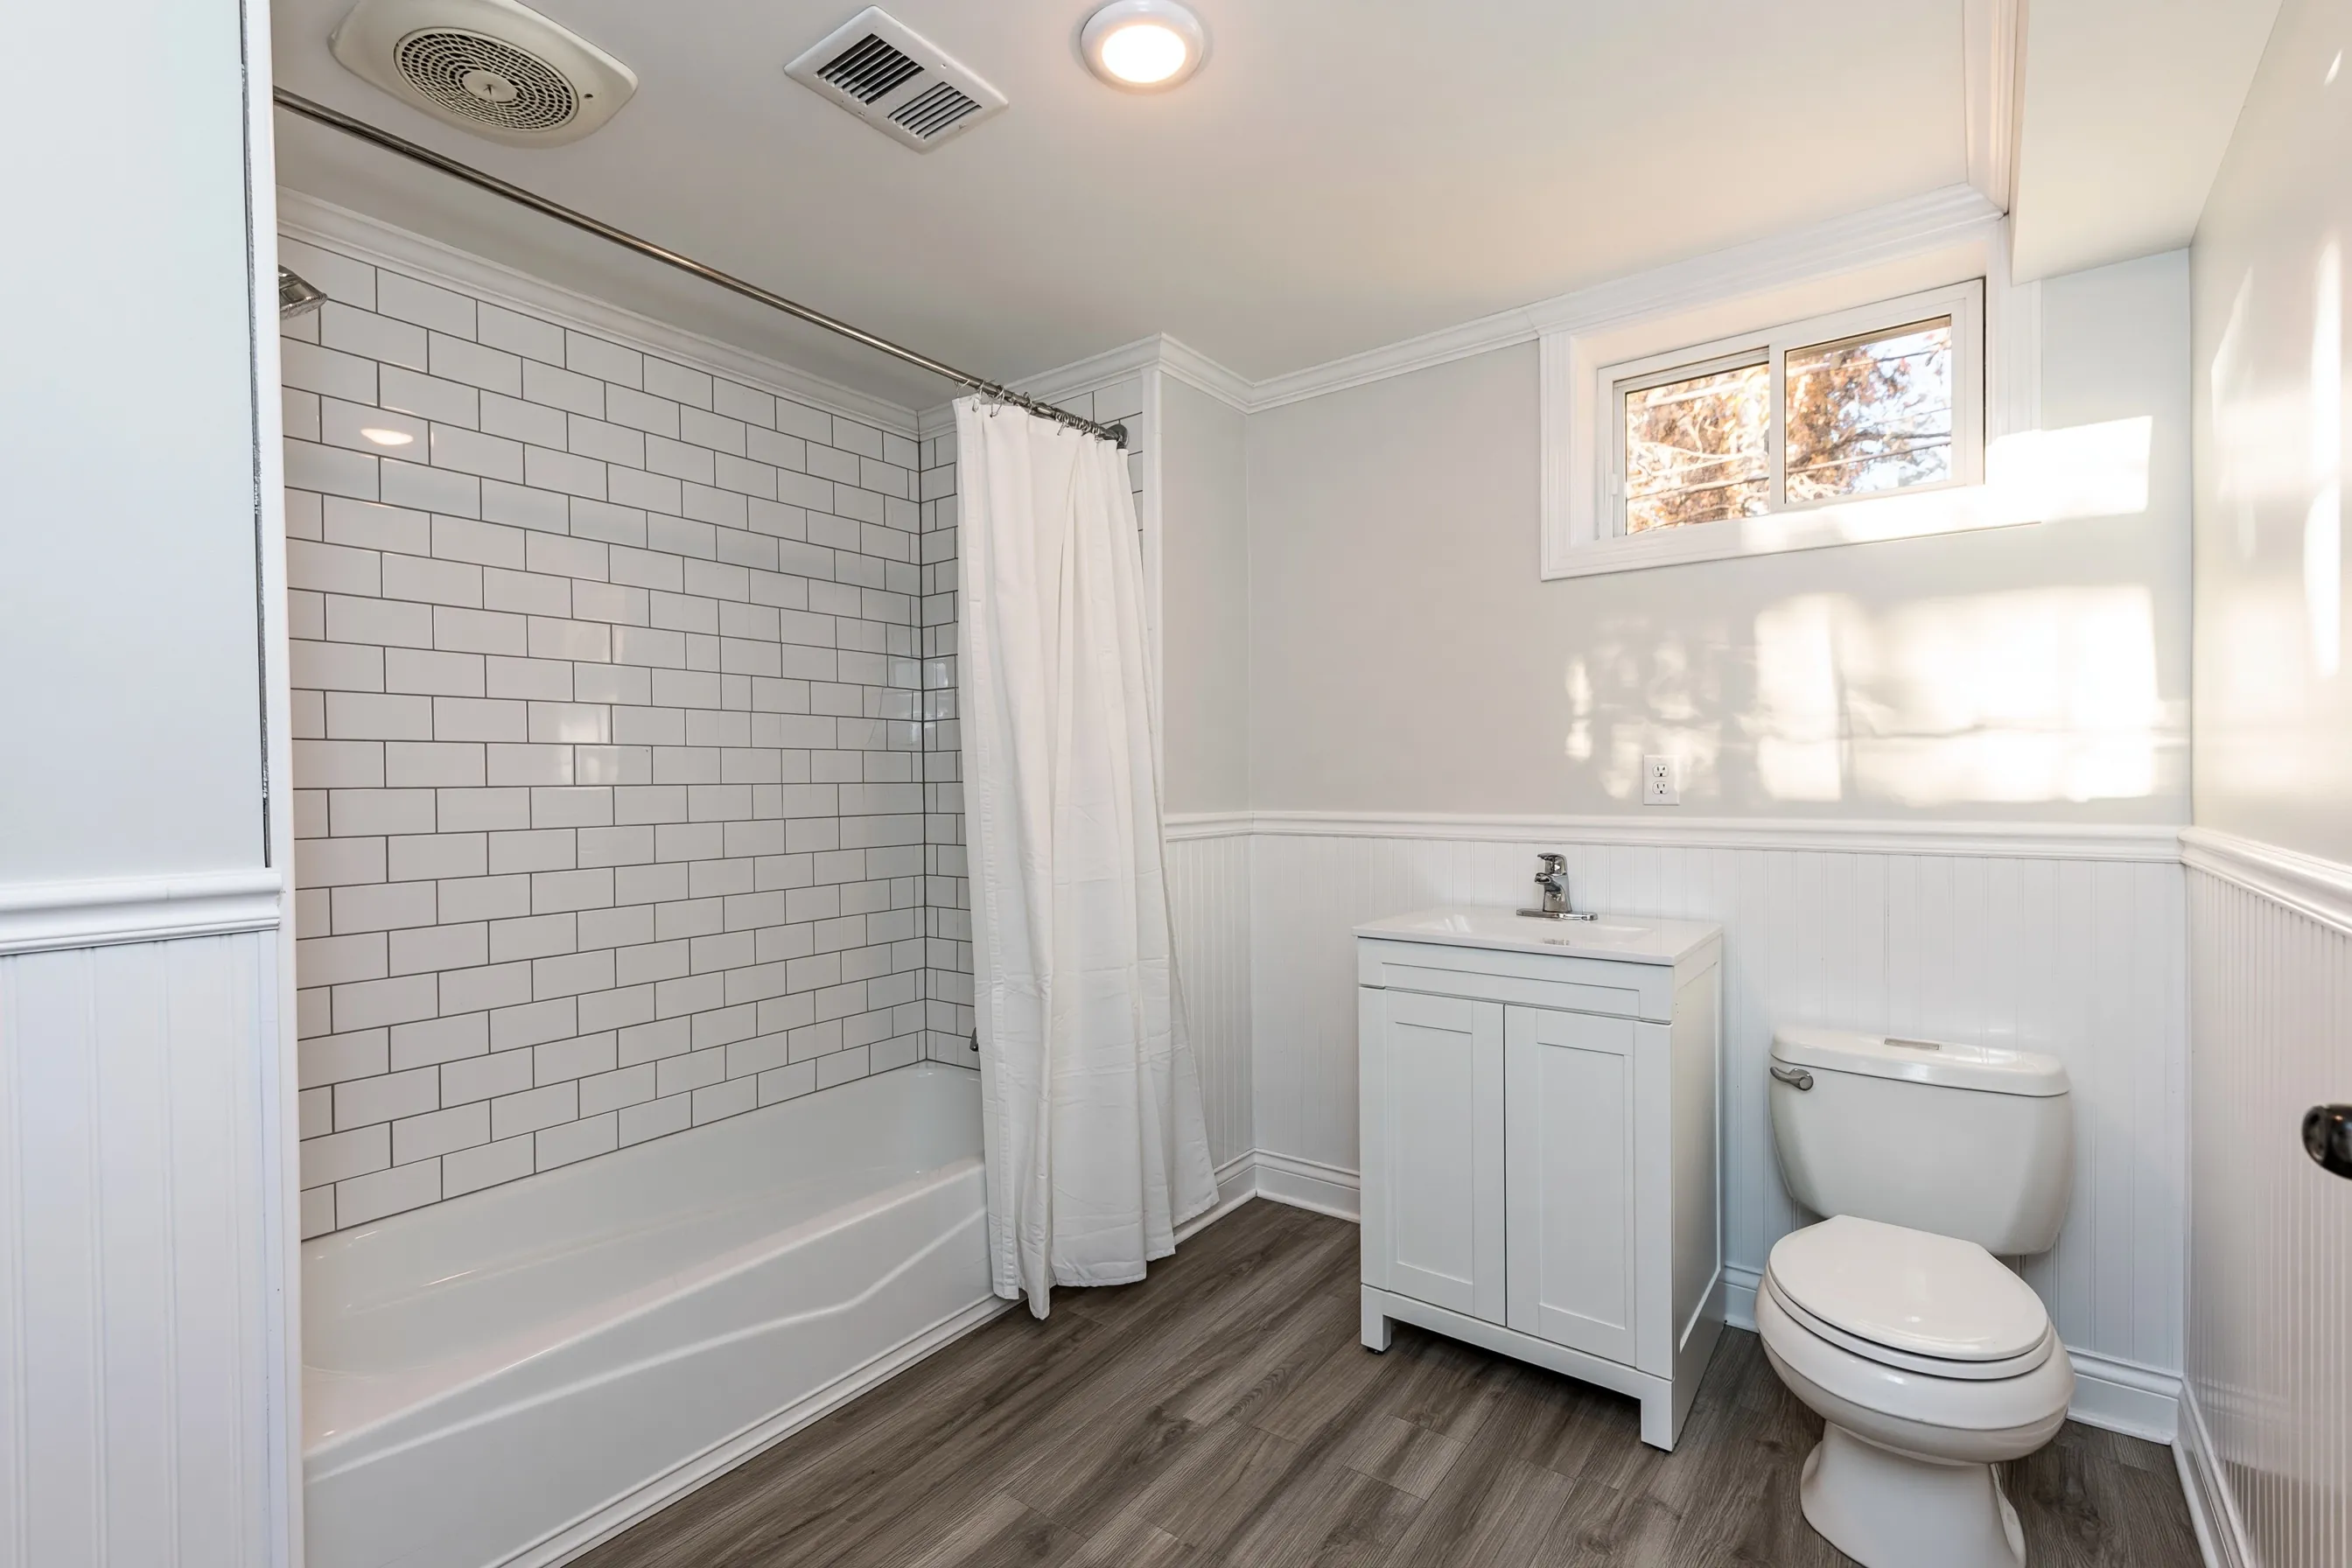
Basement bathroom with a tub and shower under white subway tile, a shower curtain, a white vanity, a toilet, white beadboard and a small high window
Home
1970s house in Murray
Original request
A guest bathroom downstairs that is easy to keep clean
Room
A tub with a shower, a vanity and a toilet
Walls
White subway tile around the tub and beadboard on the lower wall
Air and light
A vent fan, a supply vent and a small high window
Floor
Vinyl plank
Cost
$13,500

Scope of work

A framed room with a drain, vent and supply run to it, a vent fan, protected outlets and a light, a tub-shower with tile to the ceiling, a vanity, toilet, beadboard, vinyl plank floor, paint and a door.

Project overview

In this example, the owners of a 1970s house in Murray often have relatives to stay and want a bathroom in the lower level for them. They ask for finishes that wipe clean and a shower that works for any guest.

The tub has a shower over it, with tile to the ceiling. The lower wall is beadboard, and the floor is vinyl plank. The fan runs outside, and a small high window brings in some daylight.

The goal

The goal is a guest bath that is simple to keep clean.

Process

  1. Before work Ceiling height, fixture spots and the drain route are checked, then the plans are filed.
  2. Rough-in Pipes for drain, vent and supply go in and are inspected.
  3. Walls The room is framed and wired, the tub is set and tile is run up the wall.
  4. Finish Beadboard, vanity, toilet and floor are fitted and the room is painted.

Planning right

  • The ceiling over the tub is the first measurement.
  • Duct the fan outside.
  • Even a small high window lets daylight in.
  • Beadboard cleans easily.

Get a free quoteMore about basement bathrooms

Kitchenette with a range and a table for two

Example project

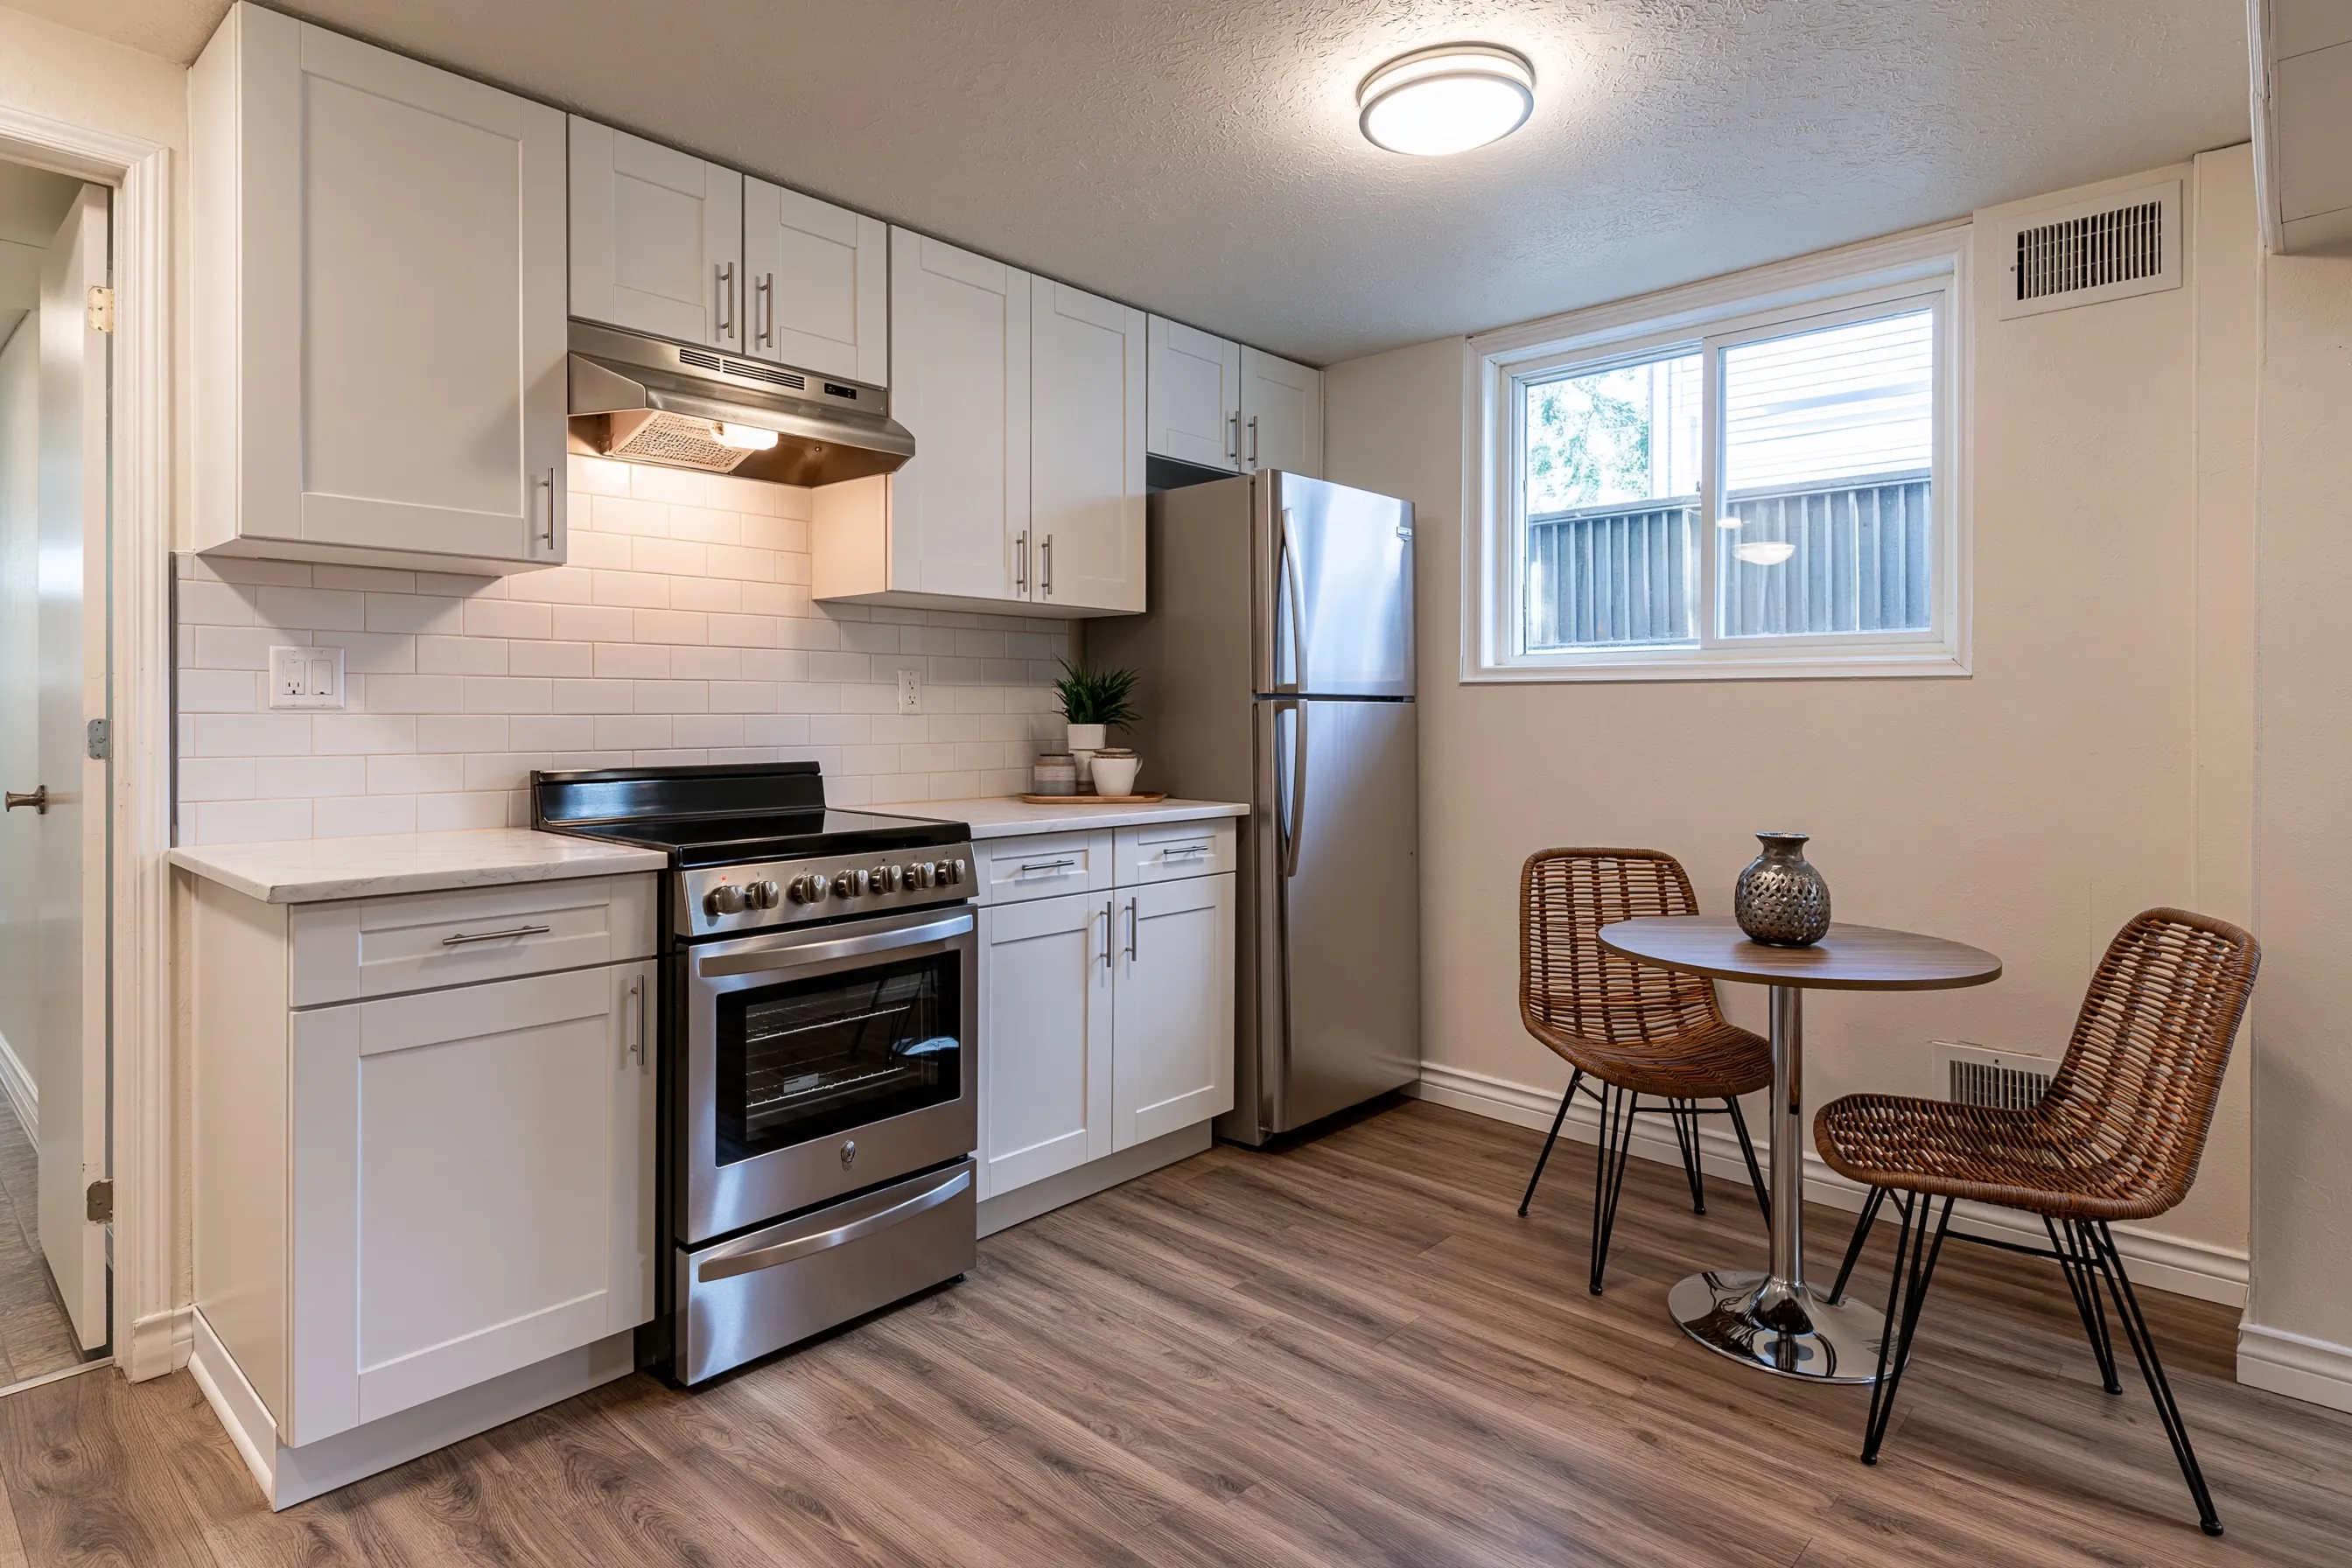
Basement kitchenette with white cabinets, a range under a hood, a stainless refrigerator, a tile backsplash, a window and a small round table with two chairs
Home
1970s house in Midvale
Original request
A small kitchen for a relative living downstairs
Kitchen
White cabinets on one wall, a range under a hood, a refrigerator and a tile backsplash
Table
A small round table for two under the window
Floor
Vinyl plank
Cost
$22,000

Scope of work

Base and upper cabinets, a counter, a sink with drain and water connections, a range circuit, a vent hood vented out, outlets, a tile backsplash, a vinyl plank floor, paint and trim. The refrigerator and the table are the owners’ own.

Project overview

In this example, the owners of a 1970s house in Midvale have a relative who will live in the lower level. They want a kitchen there so that person can make a meal without going upstairs.

A range needs its own circuit and a vent, so the plan puts the cooking wall on the side of the basement closest to an outside wall. Before the plans go in, the owners ask the city what it needs when a second kitchen is added.

The goal

The goal is a small kitchen where a relative can cook for themselves.

Process

  1. Before work The kitchen wall is chosen, the city’s second-kitchen paperwork is checked and the plans go to the permit office.
  2. Plumbing and power The sink drain, water line, range circuit and vent are run and inspected.
  3. Cabinets The cabinets are set, the counter is fitted and the backsplash is tiled.
  4. Finish The hood, range, sink, floor and paint complete the kitchenette.

Planning right

  • Ask the city what it needs for a second kitchen before drawing the plans.
  • Put the range on an outside wall so the vent is short.
  • Leave room beside the range for counter.
  • Pick a spot by the window for the table.

Get a free quoteMore about basement kitchens and wet bars

Basement apartment for the owners, with its own door

Example project

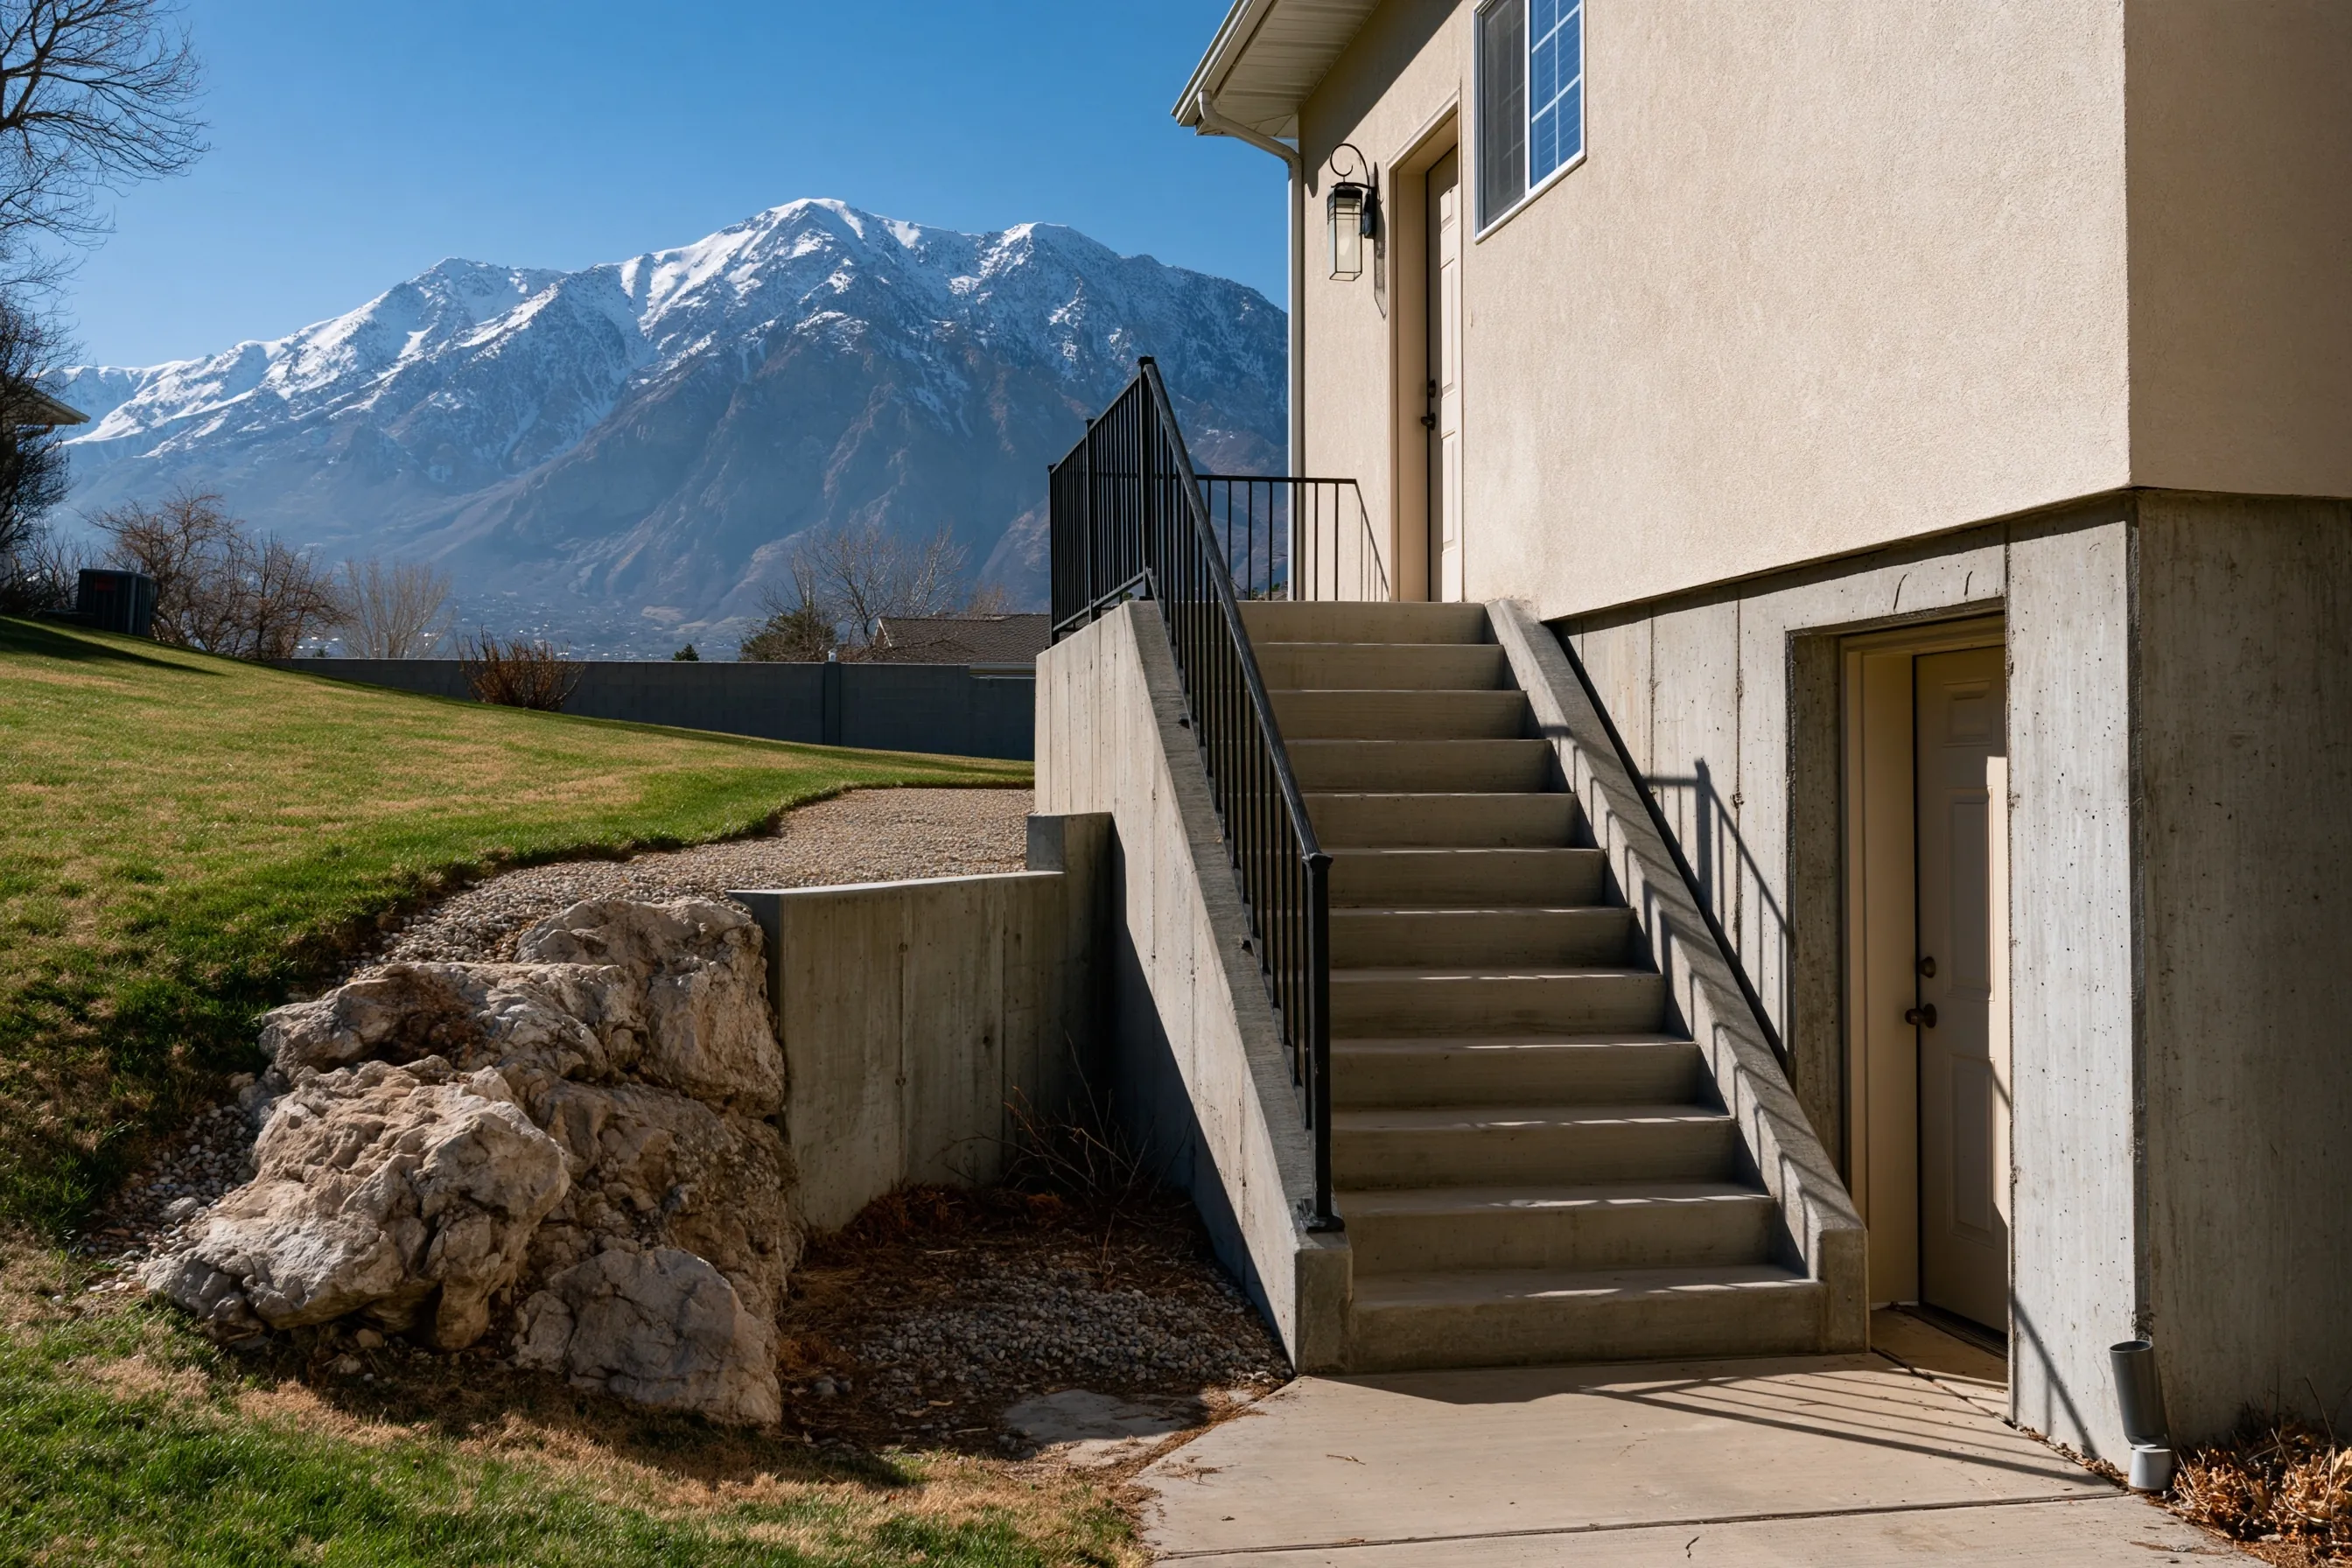
Side of a stucco house with a concrete stair and black metal railing rising to an upper door, a second door in the foundation wall at the foot of the stair, a boulder retaining wall and snow-capped mountains behind
Home
1980s stucco house in Sandy
Original request
The owners want to live downstairs and give the upper floors to their children
Space
About 800 sq ft, reached from a door at the foot of the side stair
Rooms
A bedroom, a bathroom, a kitchen and a living room
Not included
Electrical service upgrades
Cost
$78,000

Scope of work

Framed and insulated walls, a fire-rated separating wall and floor against the house, interconnected alarms, an escape opening for the bedroom, wiring and lights, a bathroom, a kitchen with cabinets, counter and vent, flooring, paint, doors and trim. Utility upgrades and the stair are not part of this cost.

Project overview

In this example, the owners of a 1980s stucco house in Sandy are ready for a smaller home. They plan to live in the lower level themselves and let their children have the floors above. The side stair leads to a door at the foot of it.

Sandy’s own rules for accessory units are the first question, so the owners ask the city before any plans are drawn. The plans then show the escape opening, the alarms and the separation from the house.

The goal

The goal is a one-level home for the owners, with a door of its own and a way out of the bedroom.

Process

  1. Before work Ask the city about its accessory unit rules, draw the layout and file the plans.
  2. Walls and systems Frame the unit and run wiring, plumbing and ducts before the inspector looks.
  3. Separation Fit board to the shared wall and floor. Taping waits until the inspector has seen it.
  4. Finish Last come drywall, kitchen, bathroom, flooring, paint and trim.

Planning right

  • Ask the city how its accessory unit rules read today.
  • Plan the stair and the door at its foot with the rest of the layout.
  • Give the bedroom an escape opening of its own.
  • Check that the mechanical corner can be reached from the house side.

Get a free quoteMore about basement apartments

A third window and well for a new bedroom

Example project

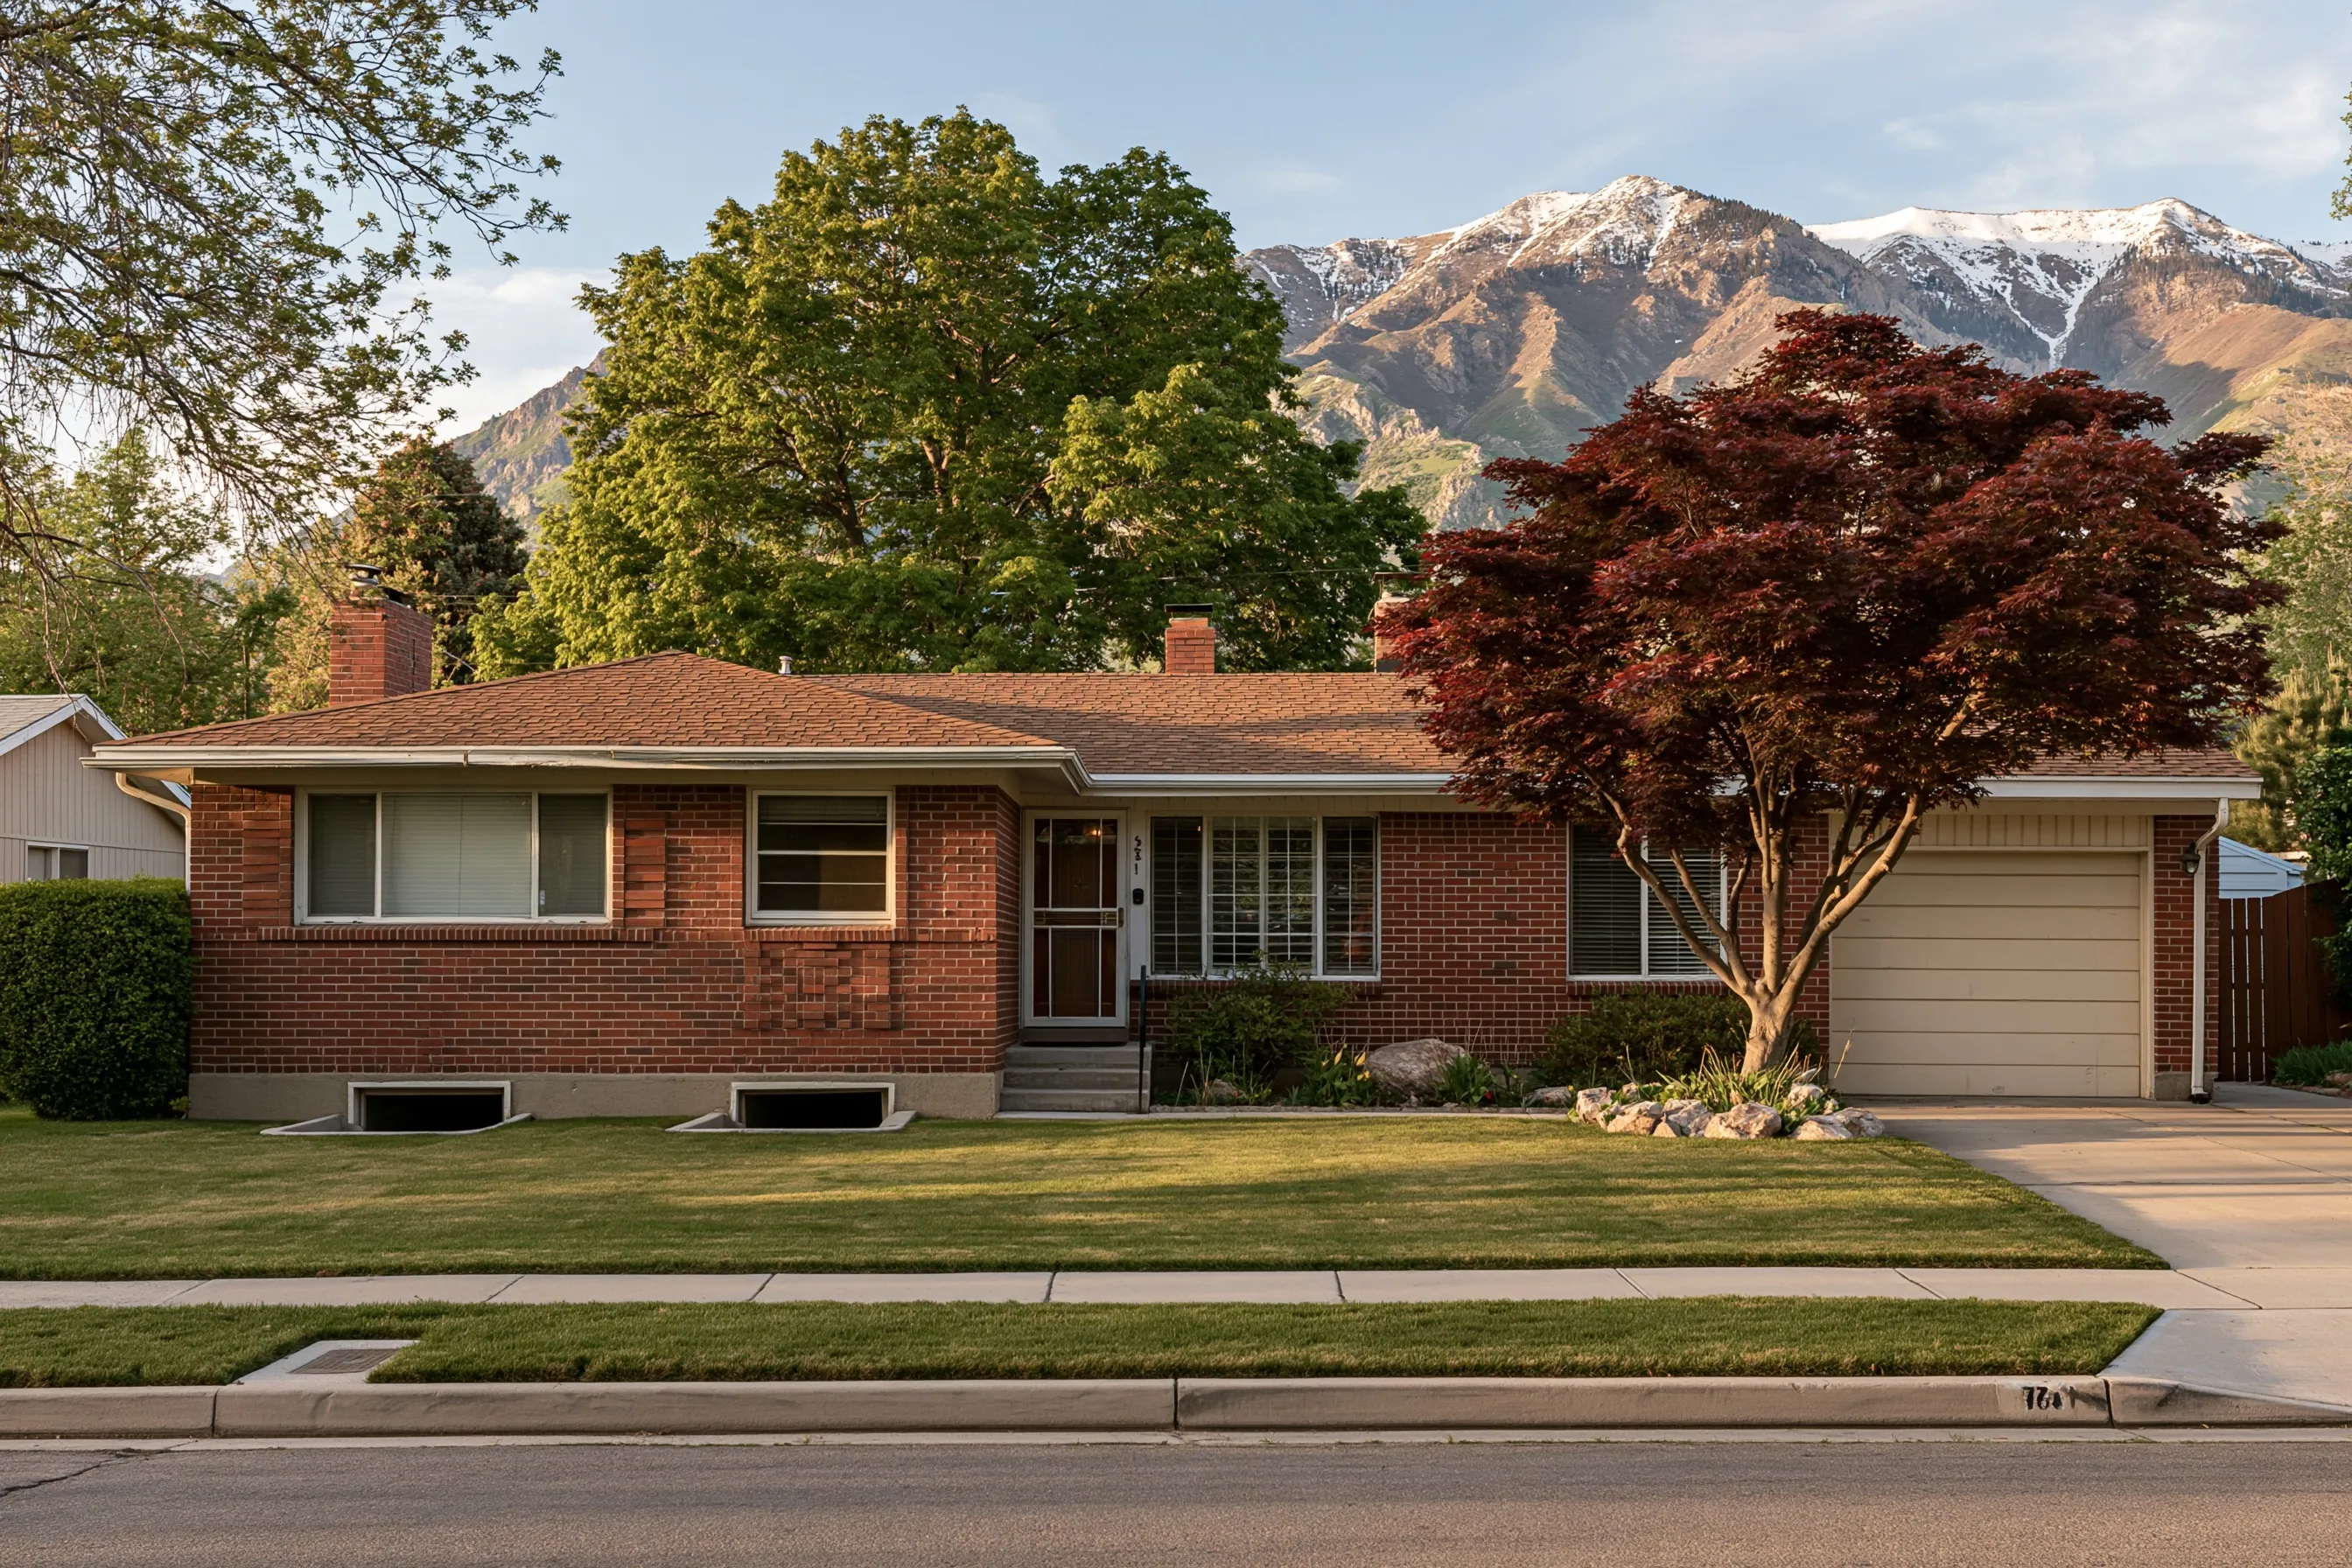
Single-story red brick rambler with a low roof, a chimney, an attached garage and two window wells at the foundation, a lawn, a maple and snow-capped mountains behind
Home
1960s brick rambler in Murray
Original request
A third bedroom downstairs that needs its own way out
Front of the house
Red brick with two window wells at the foundation
Opening
One more opening on a wall with open ground, with a window and a well
Cost
$6,000

Scope of work

One more opening in the foundation wall on a side with clear ground, an escape window, a well with a drain, backfill and the inspection. Painting and patching indoors are separate.

Project overview

In this example, the owners of a 1960s brick rambler in Murray want a third bedroom in the lower level. The front of the house already has two window wells at the foundation, and the new room is on another wall.

Each sleeping room needs its own opening, so a third window and well go where the ground outside is clear. The room is finished as a separate step.

The goal

The goal is a third bedroom with a way out of its own.

Process

  1. Before work Look at the wall and the ground beside it and submit the drawings.
  2. Cut Excavate at the new wall and cut through the foundation.
  3. Window and well Install the window, then build the well and its drain.
  4. Close up Replace the soil and call for inspection of the opening.

Planning right

  • Count the bedrooms, because each needs its own opening.
  • Choose a wall with clear ground outside.
  • Ask if the wall is thick enough to push the cost up.
  • Note where the well will sit against the lawn and beds.

Get a free quoteMore about egress window installation

Large open basement room with boxed beams

Example project

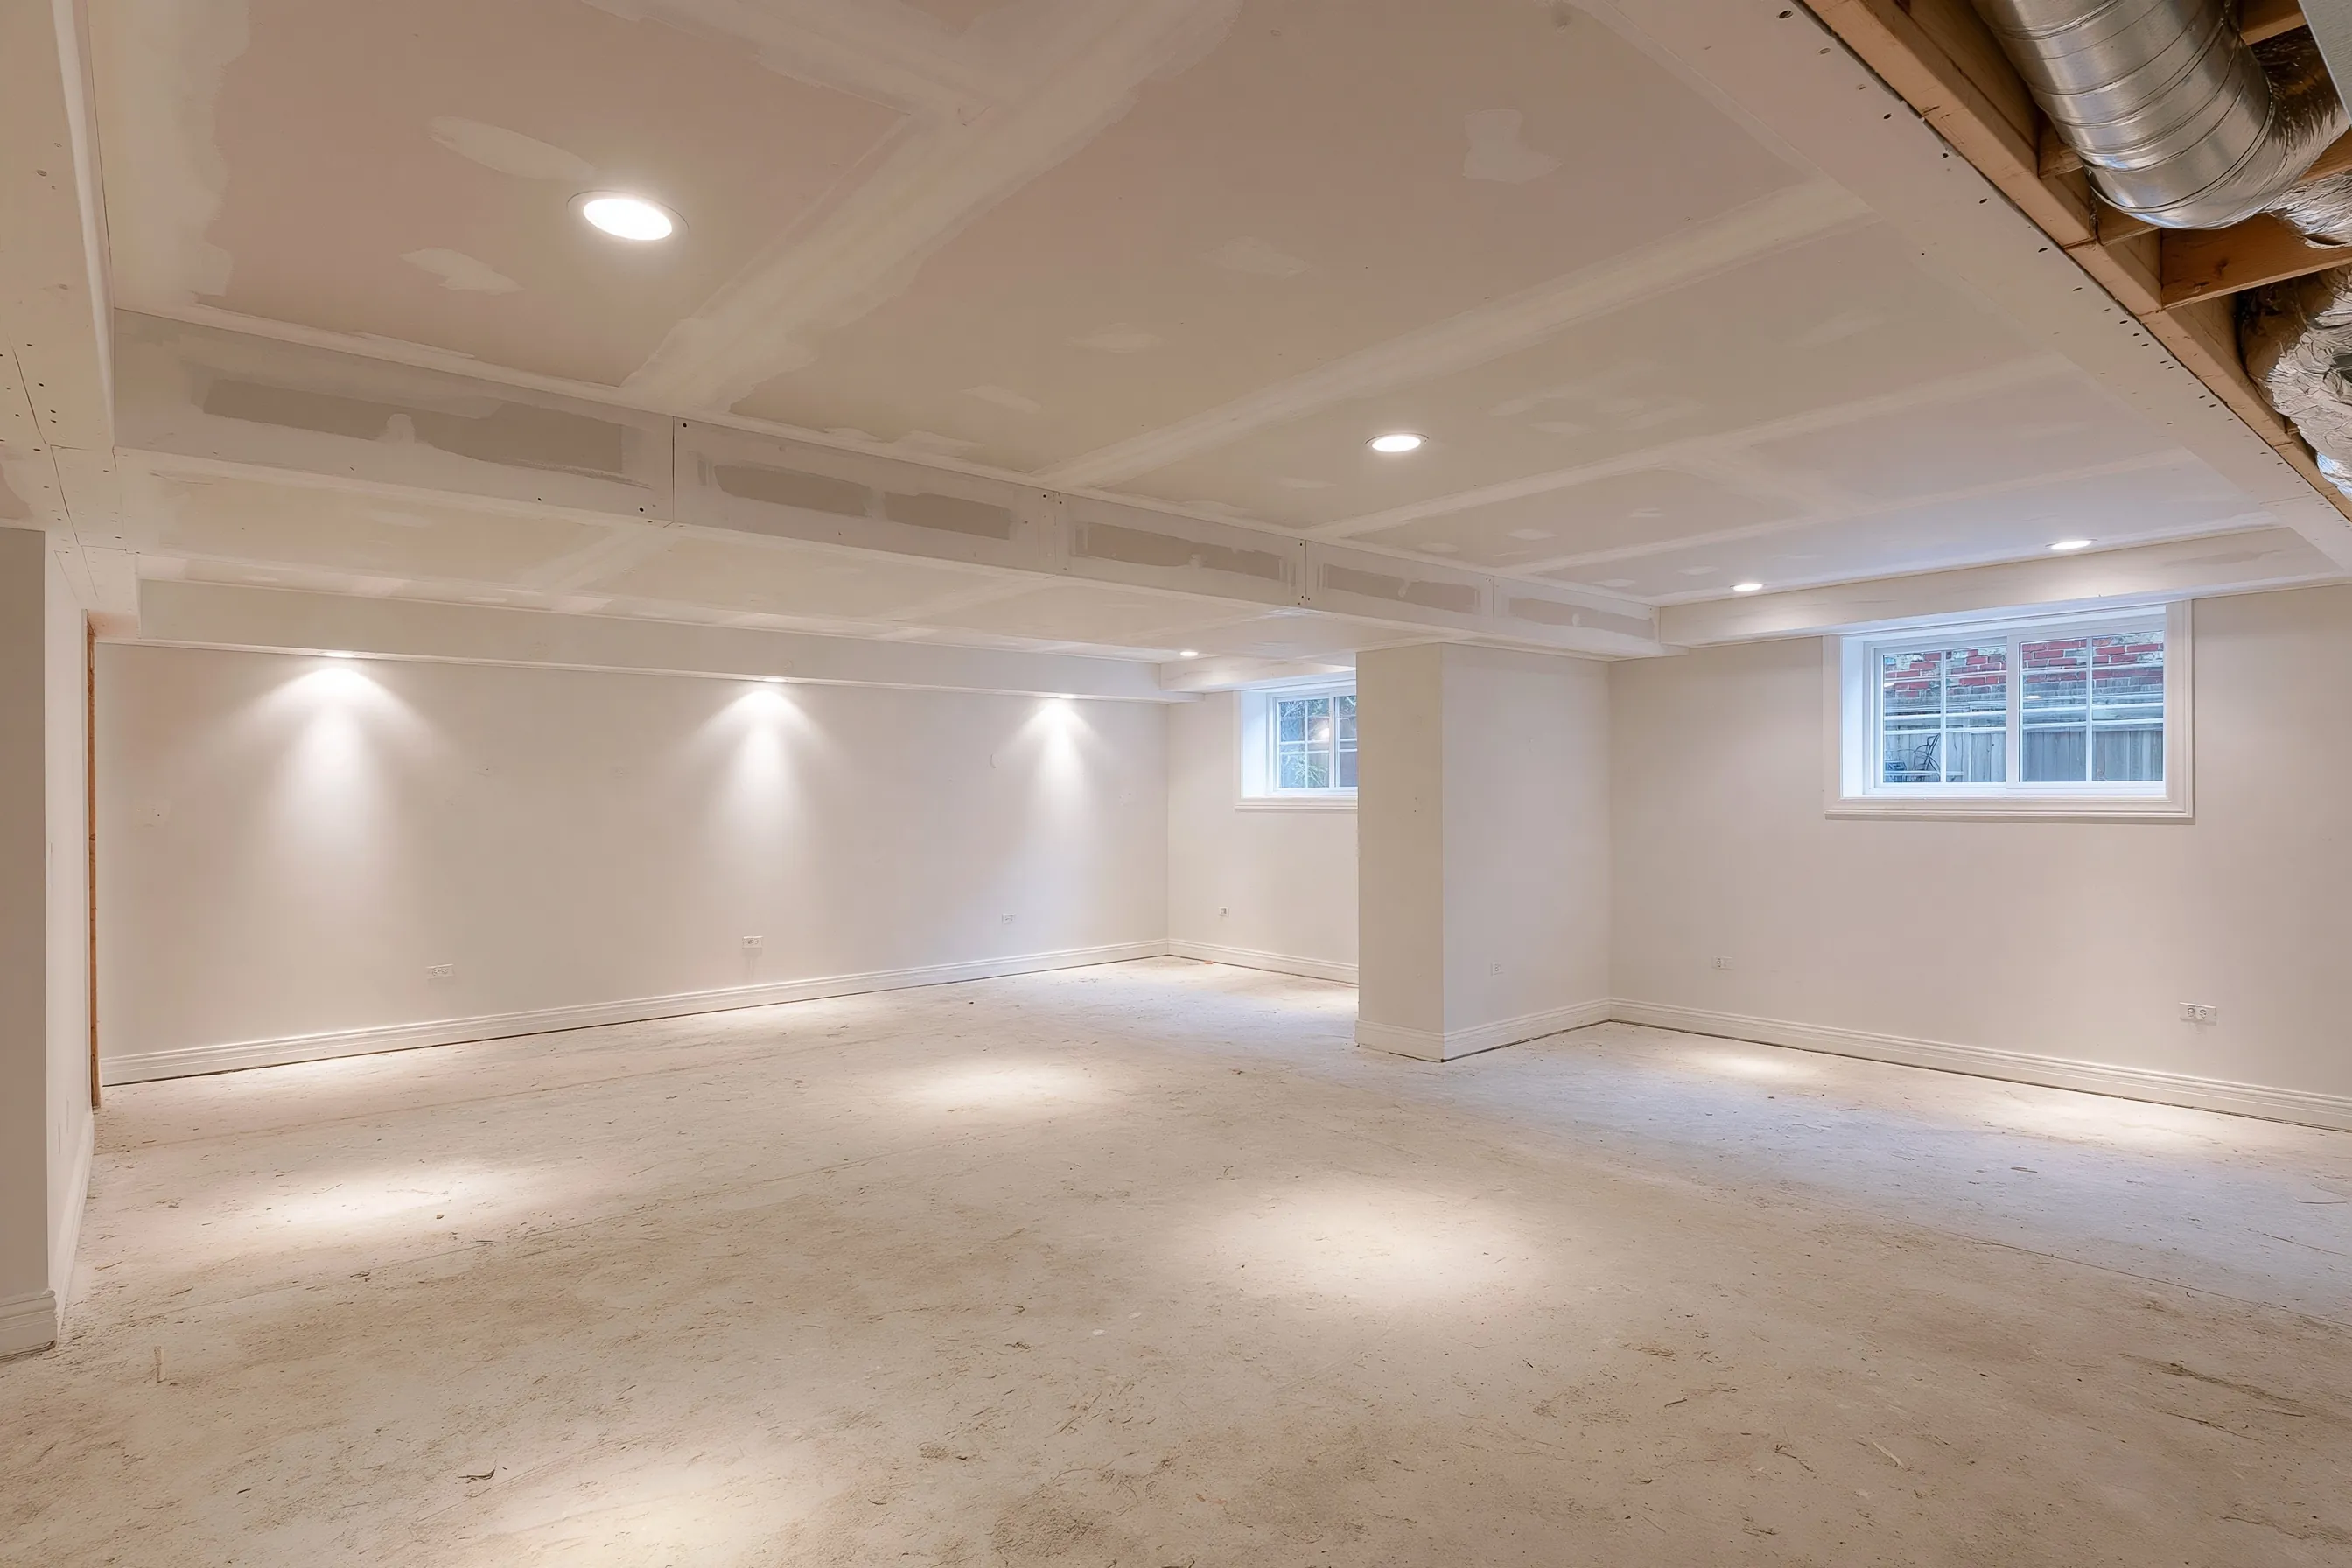
Large basement room with taped drywall on the ceiling, painted white walls, recessed lights, two sliding windows, a boxed column and beam and a bare subfloor
Home
1970s house in Murray
Original request
One large open room for the family, with the beams and column neatly boxed in
Space
About 1,000 sq ft with two windows
Walls and ceiling
Drywall taped and painted white, baseboard and recessed lights
Beams and column
Boxed in drywall and painted
Floor
Bare subfloor, with the flooring still to come
Not included
A bathroom, priced on its own line
Cost
$49,000

Scope of work

Framed and insulated walls, drywall on walls and ceiling with the beams and column boxed in, wiring with outlets and recessed lights, paint, baseboard, flooring and doors. A bathroom is separate.

Project overview

In this example, the owners of a 1970s house in Murray want the whole lower level as one large room. It has about 1,000 sq ft with two windows, a beam across the middle and a duct along one side.

The beam and column are boxed in with drywall so they look like part of the room, and the photo shows the duct still exposed along one side. The photo shows the room after the drywall is taped and painted, with the flooring still to come.

The goal

The goal is one large, bright room with a clean ceiling.

Process

  1. Before work Measure the beam, the duct and the window heights, then file the plans.
  2. Framing Stud walls go in with insulation, followed by wiring and an inspection.
  3. Drywall Hang the walls and ceiling, box in the beams, then tape and paint.
  4. Floor and trim The flooring goes down last, and the doors are hung.

Planning right

  • Start by measuring the clear height under the beam.
  • Box in the beam and the column, and decide early whether the duct stays exposed.
  • Recessed lights suit a ceiling the beams keep low.
  • Choose the floor before the baseboard.

Get a free quoteSee all basement services

Request a free basement finishing quote

Let us know the address, which areas of the basement are unfinished and the rooms you want. We'll get back to you soon to arrange a visit or with any questions we have. Estimates are free and there's no obligation.

Call (385) 485-8556

Call (385) 485-8556